On this day in 1986, legendary game designer Shigeru Miyamoto and Takashi Tezuka launched the Legend of Zelda series, now one of Nintendo’s most popular franchises.

Released: 13 September 2024
Developer: Nintendo EPD and Grezzo
Also Available For: Nintendo Switch 2
Metacritic Scores: 85 / 8.4
Quick Facts:
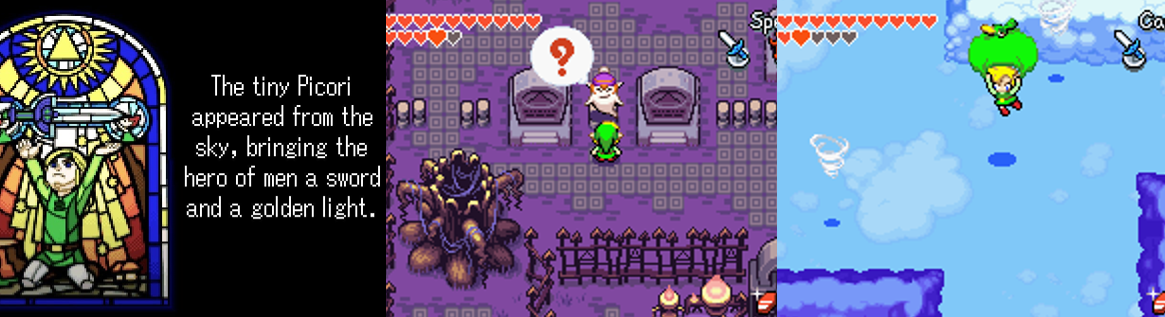
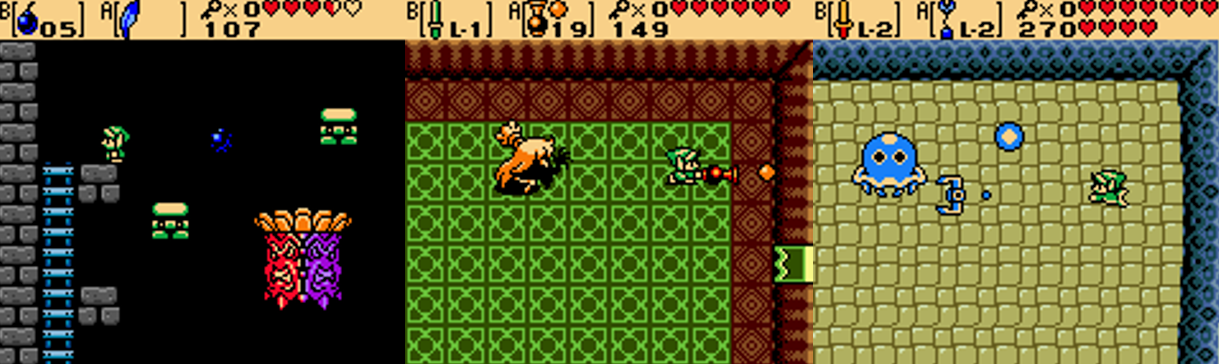
After the original Nintendo Entertainment System (NES) Zelda sold over 6.5 million copies, the franchise spawned a handful of generally questionable spin-offs, though the titular princess only took the spotlight in a much-maligned and poorly conceived release for the ill-fated Phillips CD-i. Following the critical and commercial success of their 2019 diorama-inspired remake of The Legend of Zelda: Link’s Awakening (ibid, 1993), Nintendo and developers Grezzo originally conceived the follow-up as an expansion of Link’s Awakening’s dungeon editor. The project changed to put the princess at the forefront and the dungeon editor mechanics became the “Echoes” system (purposely included over series protagonist Link), and the game was specifically designed to appeal to all gamers. The Legend of Zelda: Echoes of Wisdom released to largely positive reviews that praised the innovative changes to the franchise formula and adorable visuals while criticising the restrictive combat options and clunky user interface.
Gameplay and Power-Ups:
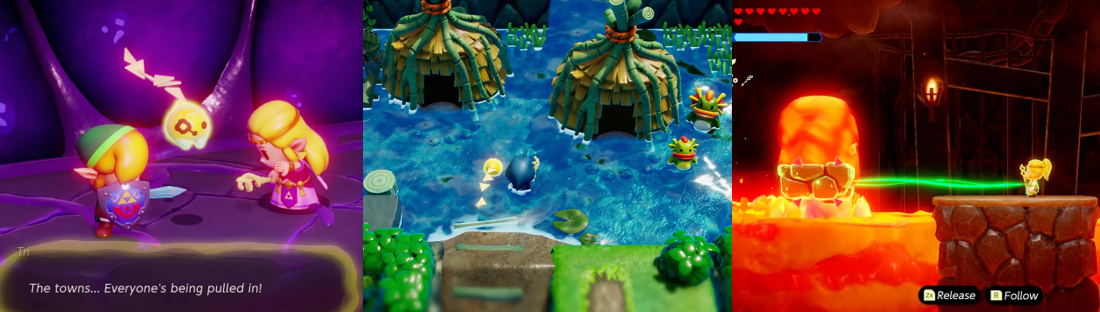
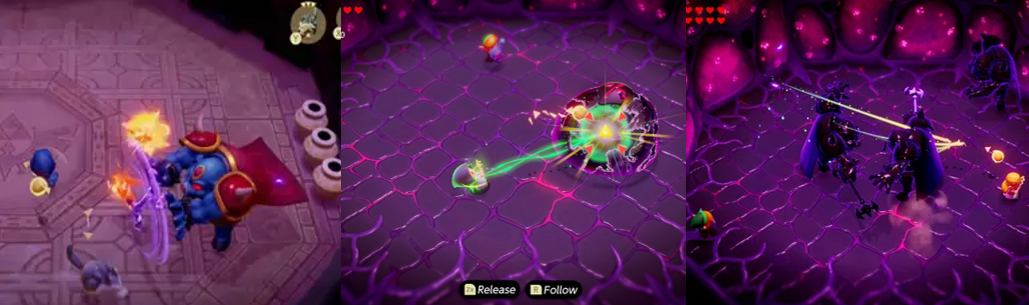
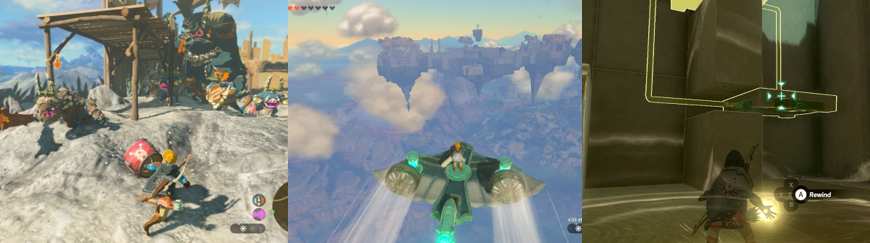
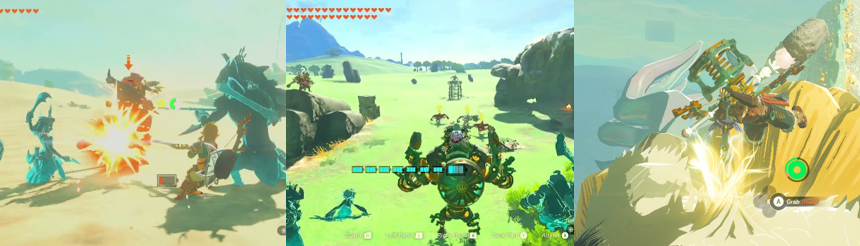
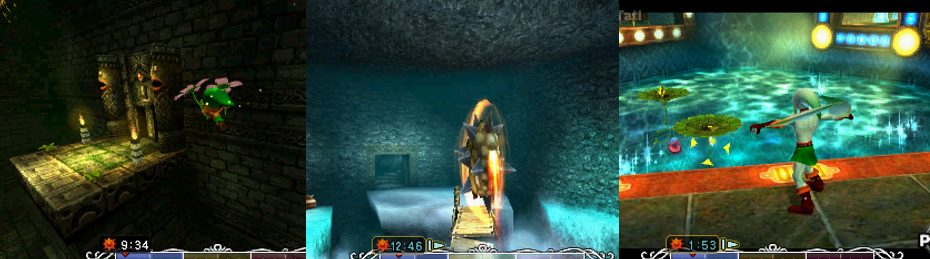
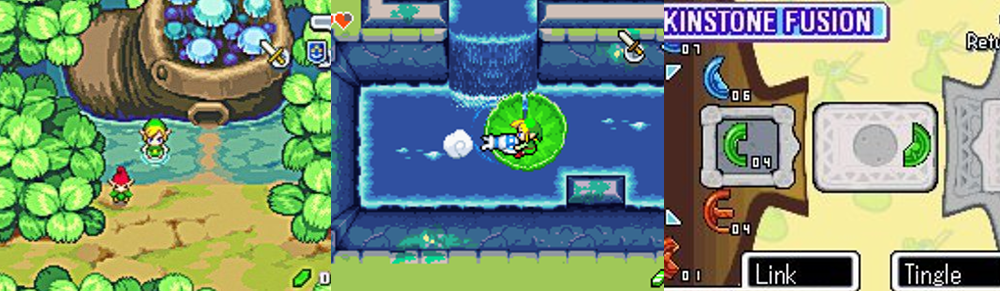
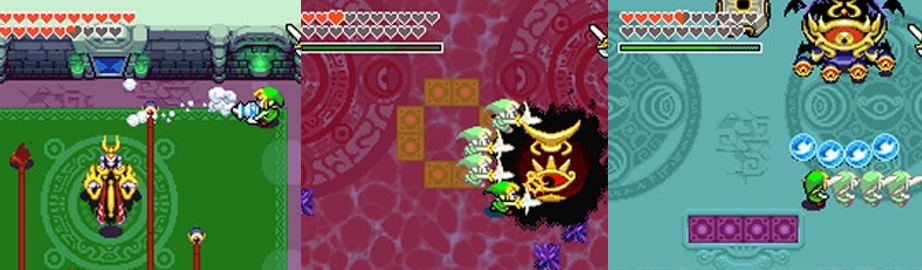
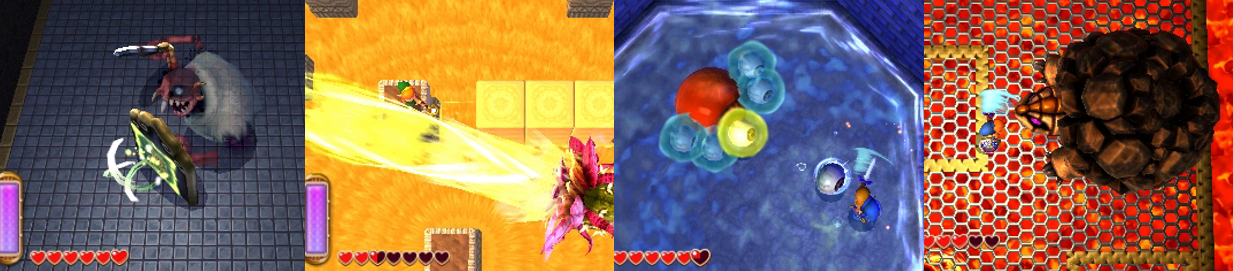
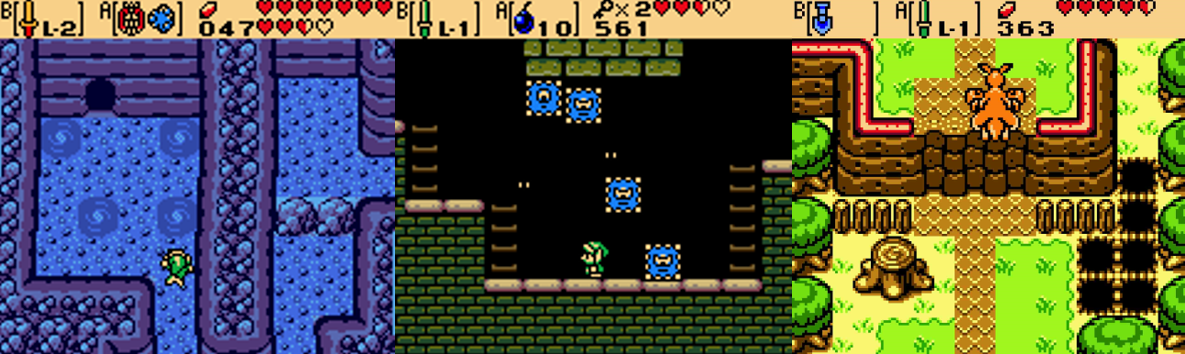
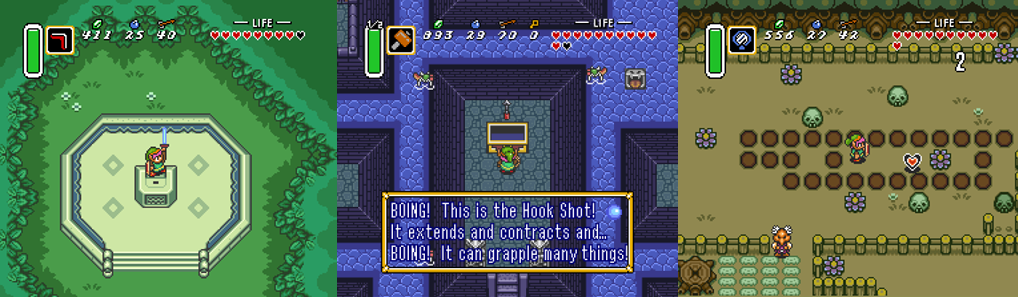
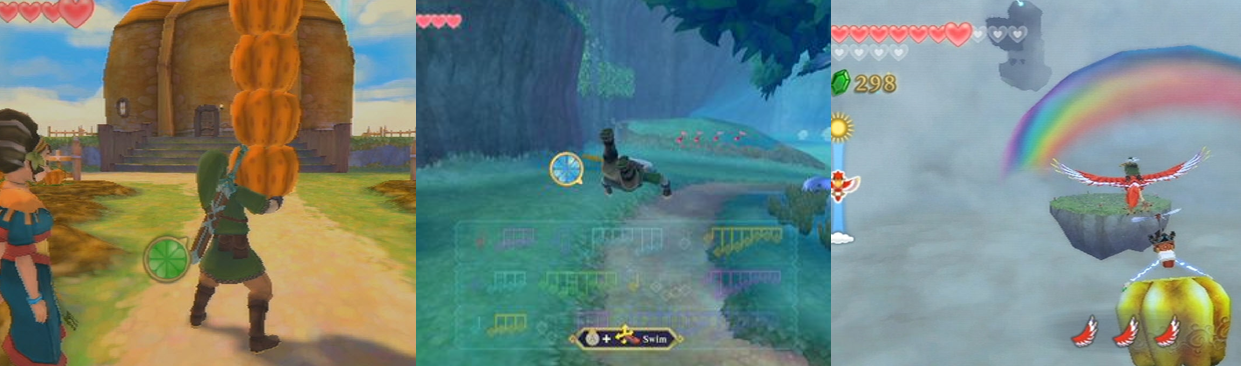
Much like the adorable and fun-packed diorama-like remake of Link’s Awakening, The Legend of Zelda: Echoes of Wisdom is a 2.5D, quasi-top down adventure in which players explore a version of the fantasy land Hyrule that closely mirrors The Legend of Zelda: A Link to the Past (Nintendo EAD, 1991) and its sequel. Of course, the most obvious thing that separates Echoes of Wisdom from other Zelda titles is that players now play as the titular princess for the first time in a mainline game…after clearing a quick pre-game sequence where you control a fully powered-up Link and battle the Demon King, Ganon. Once Link is sucked into a rift and lost in the “Still World”, however, you exclusively guide Zelda across Hyrule, sealing rifts and collecting “Sanctions” of the legendary Goddesses to confront the being responsible for the rifts, Null. If you’ve played the Link’s Awakening remake or the classic Zelda titles, Echoes of Wisdom will be immediately familiar, though it does include elements from The Legend of Zelda: Breath of the Wild (Nintendo EPD, 2017) and Tears of the Kingdom (ibid, 2023). Players talk to non-playable characters (NPCs), open chests and doors, or pick up various items with A, jump with B, and perform a spin attack with the Right trigger to cut through grass and move a bit faster (though it doesn’t damage enemies). Unlike Link, Zelda doesn’t carry a sword and shield, but she can still target enemies with ZL to send her “Echoes” in to attack. Zelda wields the Tri Rod, gifted to her by the pixie-like companion, Tri. By defeating enemies or encountering shimmering objects, Zelda can add Echoes to her repertoire with ZR and spawn them with Y. Each has a different cost, as indicated by Tri’s current level, and you must seal rifts and rescue Tri’s friends to level him up, which reduces the cost of using Echoes so you can spawn more to solve puzzles and attack enemies.
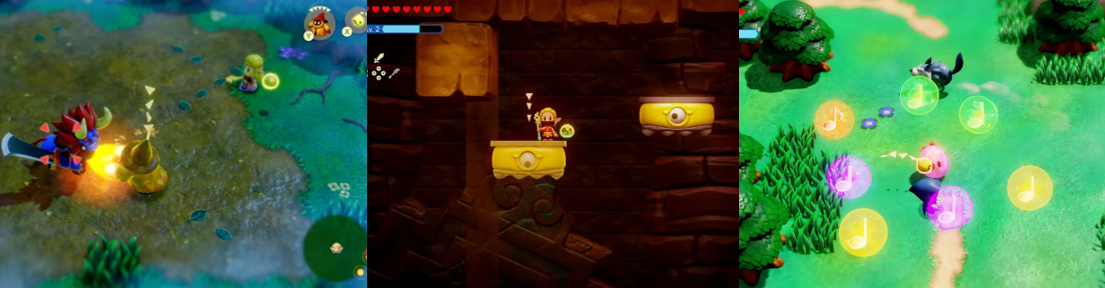
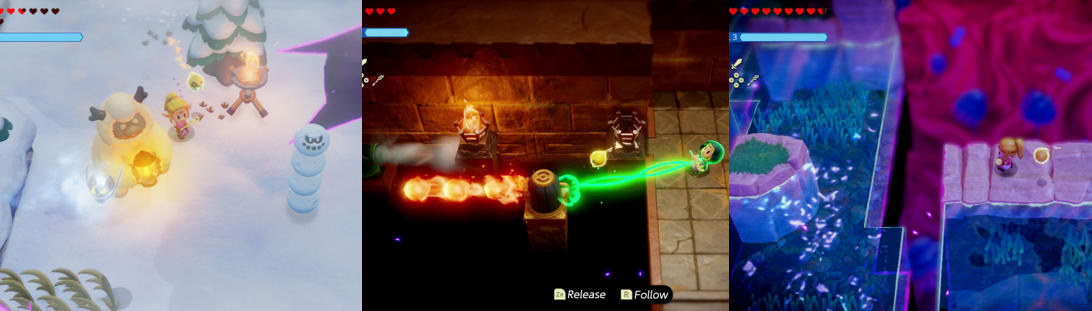
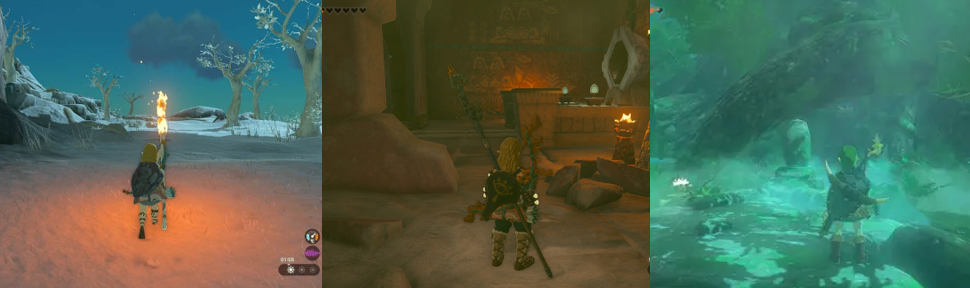
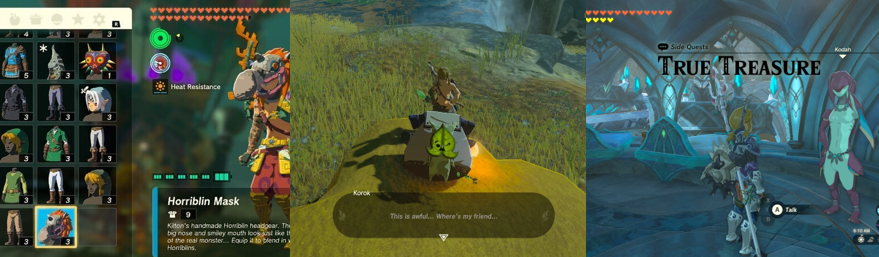
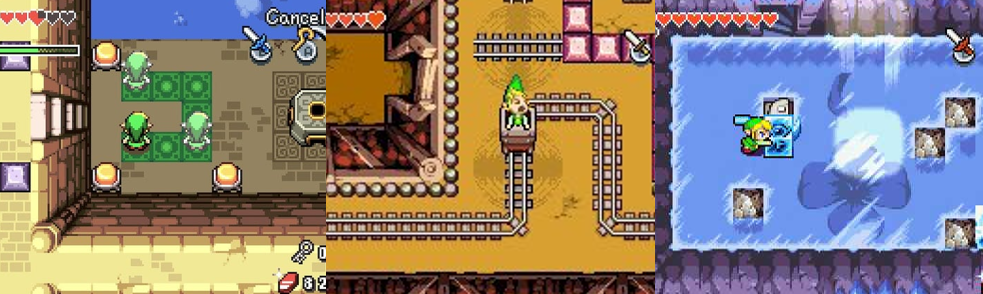
There are loads of Echoes to learn; they’re mapped to the right directional pad (D-pad), and you can set favourites and sort them by type and order obtained. They remind me of the classic Sonic the Hedgehog (Various, 1991 to 1994) debug modes as you spawn regular props (chairs, creates, etc) or enemies who attack on your behalf. Sadly, this means Zelda mostly takes a backseat in combat as you use Moblins, Wizzrobes, Chompfins, and the like to fight for you. There are different levels, too, with the stronger Echoes taking more hits and dealing additional damage but costing more to spawn. Echoes are also essential for solving the game’s various puzzles. You’ll need flaming Echoes to light torches, keep you warm on Holy Mount Lanayru and melt ice, meat to distract enemies, hopping Armos statues to press pressure pads, ranged Echoes to activate switches, and Wind Cannons to extinguish flames or push you across gaps. Echoes create stationary, moving, and temporary platforms, spawn Strandtulas to create webs to climb between, Bombfish to blow up weak walls and blocks, and Mothulas you can grab to float across gaps. You can spawn beds to sleep in and refill Zelda’s health (though enemies still drop hearts and you can still extend her health by finding Heart Pieces), burrow through soft dirt with Holmills, and light up dark underwater caverns with Tanglers. It can be fun experimenting with Echoes to find hidden areas and solve puzzles, though I stuck to a handful of specific Echoes to get past most areas. There are times when you need specific Echoes like the animal statues specifically created for the Gerudo Dungeon and the Ancient Orb used to access the Great Deku Tree. Other times, you spawn boulders to weigh down platforms, summon specific enemies to appease NPCs, use lava rocks to safely bypass lava, or spawn Water Blocks to swim between bodies of water in the bizarre Still World. Similarly, Zelda can eventually unleash six of Dampé’s “Automatons”, mechanical duplicates of various enemies that deal greater damage and take more hits, but cost Rupees and “Monster Stones” to repair. Considering how many Echoes there are, I found little use for these and honestly got annoyed with the Echo system as it wasn’t as much fun as fighting directly.
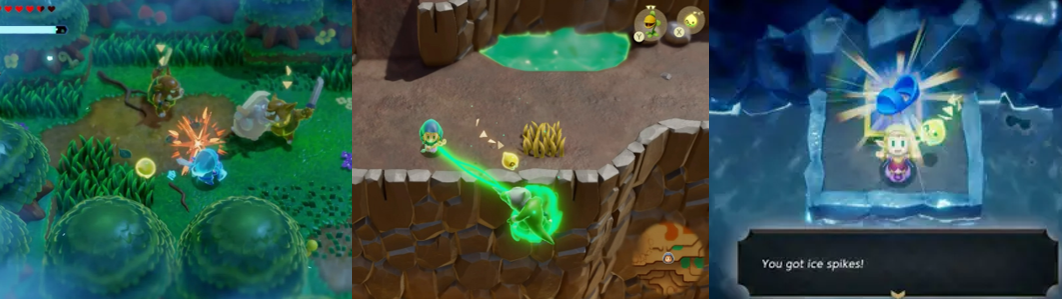
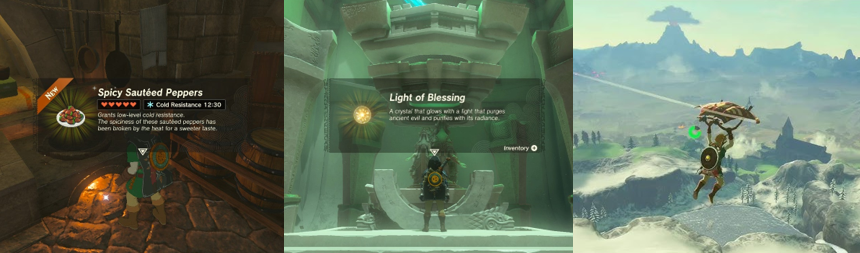
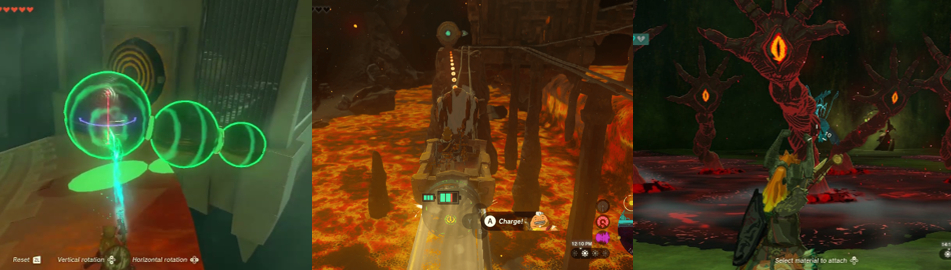
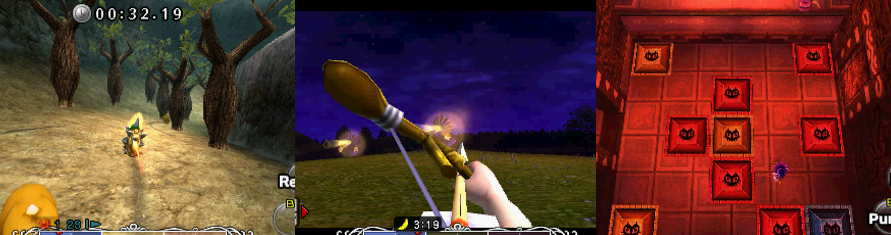
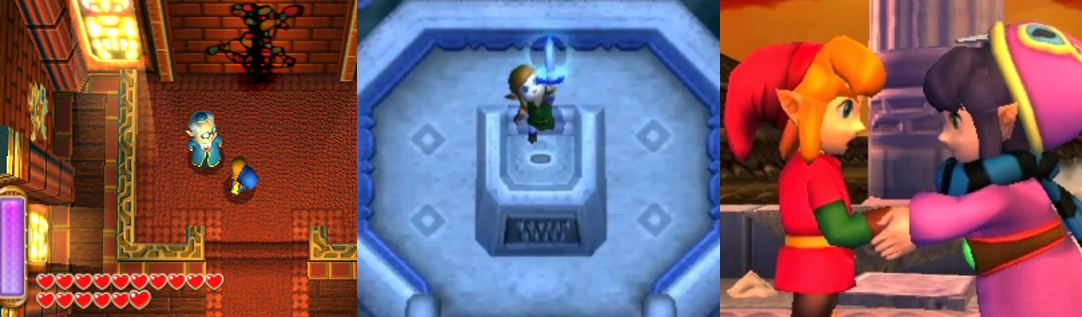
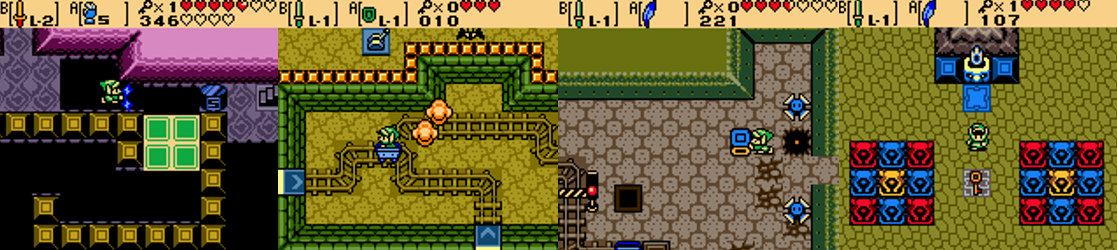
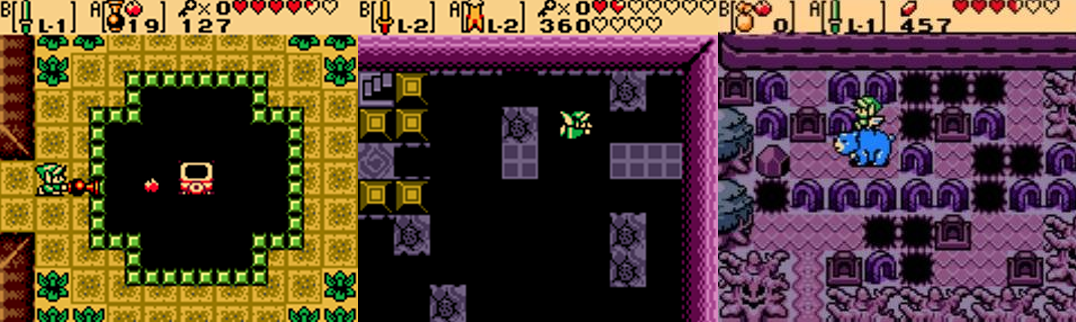
The Still World is Echoes of Wisdom’s take on the “Dark World” concept from previous Zelda games. Areas of Hyrule are blemished and impassable thanks to rifts that spawn shadowy monsters who cannot be learned and don’t drop hearts or Rupees and can only be dispelled by venturing into the surreal, twisted Still World. In here, elements of the regular world are slanted, fragmented, and turned upside down, forcing you to use Echoes in new ways to traverse the endless void and locate Tri’s friends. This opens new areas on the map and levels-up Tri, who also latches onto objects and enemies with X, allowing you to move blocks from afar or carry objects to NPCs to complete side quests. You can also latch onto moving platforms to be carried across pits and solve puzzles from a distance. Soon into the game, Zelda acquires Link’s “Sword of Might” and assumes his form by pressing up on the D-pad. This allows you to swing and charge the sword and, eventually, fire arrows and toss bombs, but only for as long as the Energy Gauge lasts. You refill this by collecting energy (generally by defeating enemies in the Still World) and the gauge can be increased and her weapons upgraded by saving Tri’s friends and finding “Might Crystals” around Hyrule. I found it best to save the Swordfighter for bosses as even a fully upgraded Energy Guage won’t keep sustain the form for long. Zelda can extend her time in this form, locate Might Crystals, improve her swimming, and gain additional benefits from various accessories. While you can only equip a couple at a time (unless you pay a Great Fairy to make you more “stylish”), these are super useful for negating quicksand, preventing slipping on ice, and spawning more hearts or energy. Similarly, Zelda can wear different clothing for additional benefits, such as recovering more hearts when sleeping in her pyjamas, talking to cats to solve side quests, and increasing her spin radius.
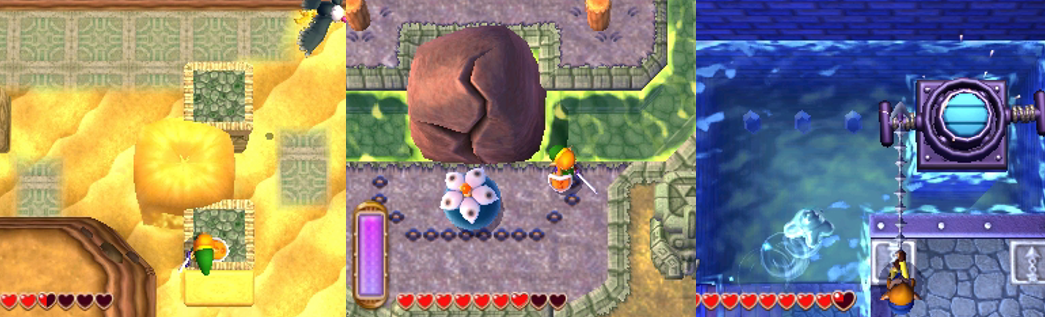
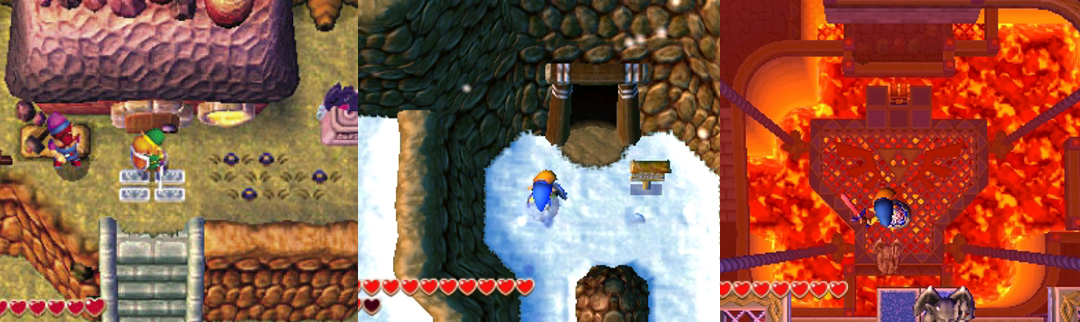
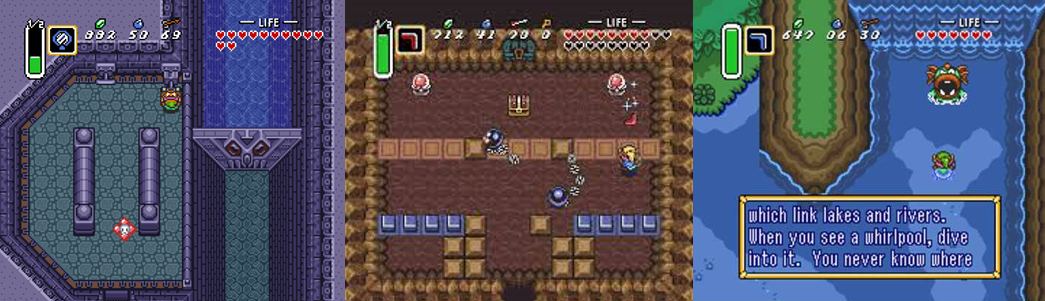
You’ll be collecting Rupees to buy items from shops, helping NPCs to earn Might Crystals, Heart Pieces, and empty bottles to store restorative fairies, and collecting keys and maps to progress in dungeons. Like in Breath of the Wild and Tears of the Kingdom, enemies and chests often yield monster parts or various fruits. These can be brought to Deku Scrub vendors to mix smoothies to recover health or energy, stave off frigid cold and resist fire damage for a set time, reduce damage for a set time, and speed up your wall climbing, among other benefits. Every NPC provides hints about where you should go next, though you’re free to explore and tackle each area, rift, and dungeon in any order. Zelda doesn’t acquire new items from dungeons, just additional parts for her Swordfighter form that aren’t necessary to solve puzzles, so you’re free to tackle the main and side quests however you like. These are tracked on the map, and you can set stamps and waypoints to guide you, though some areas are more challenging. Holy Mount Lanayru features freezing water and areas that sap your hearts, the Gerudo Desert is full of quicksand, lava is rife on (and in) Eldin Volcano, and you must grab air bubbles to properly navigate the Jabul Waters and its ruins. As ever, dungeons get larger and more complex as you progress. These include a mixture of top-down and 2.5D sidescrolling sections and have you spawning Echoes to activate switches, open gates, and acquire keys to progress. You move giant boulders, ride elevators, defeat all enemies, climb walls, pull levers, and step on pressure pads as standard. Often, you must use Tri to latch onto objects beyond gates to progress; other times, you must place statues in specific spots or destroy blocks to find keys. Faron Temple has you going in and out, weighing down platforms and lighting up dark areas, while Lanayru Temple sees you heating up (or cooling down) special orbs to thaw or freeze up different areas. Gerudo Sanctum has you pulling out giant plugs to fill areas with or drain them of sand, you must spawn lava rock Echoes to cross and ride flava plumes in Eldin Temple, and you must strategically place (or destroy) Armos statues in Faron Temple.
Presentation:
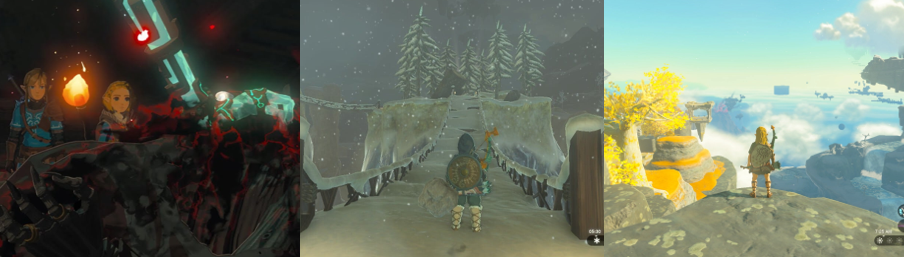
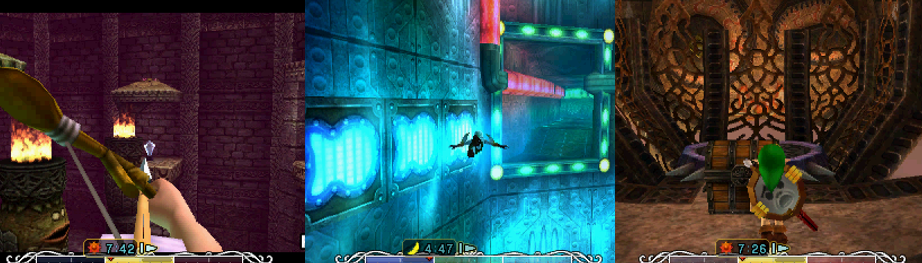
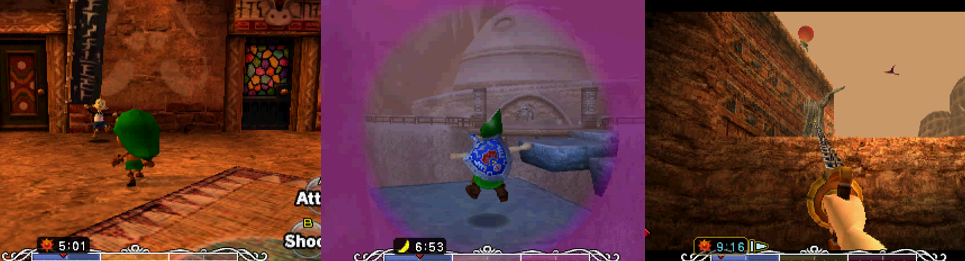
As it’s based on the Link’s Awakening remake, Echoes of Wisdom looks, (mostly) plays, sounds, and feels exactly the same. This is great, for me, as I’m a big fan of the diorama-like, plasticine art style used to bring this epic fantasy world to life. It’s exactly in keeping with the aesthetic of the classic Zelda games and I much prefer the traditional, top-down approach to Zelda. Like Link, Zelda is mute here, talking only through pantomime or Tri, but she gets a chance to show more personality than ever as she’s framed for the rifts and initially goes incognito, meets Hyrule’s various races and helps with their rifts, issues, and worries, and tirelessly traverses both worlds to save her people and rescue Link. Zelda assumes a few different forms with her Swordfighter ability and clothing, though this latter mechanic doesn’t get much attention, unfortunately. This may be the biggest and most diverse 2.5D rendition of Hyrule yet, but it’s easy to explore (even with the rifts) and the fast travel system makes getting around a doddle. All the classic Zelda locations return, with the mischievous, all-female Gerudo waiting in the desert, two warring factions of Zora out by the swamp, and Gorons residing in the mountains. They’re joined by Tri’s people and the yeti-like Condé on Hebra Mountain, yet locations like Kakariko Village, Lake Hylia, and Hyrule Castle all make welcome returns alongside a typical mist-shrouded forest, spooky graveyard, and dingy swamp. As colourful and varied as Hyrule is, the game really impresses and ups its challenge in the ominous Still World, where a desolate void lurks in the background, NPCs are frozen in time, and parts of the environment are scattered about as bizarre makeshift platforms.
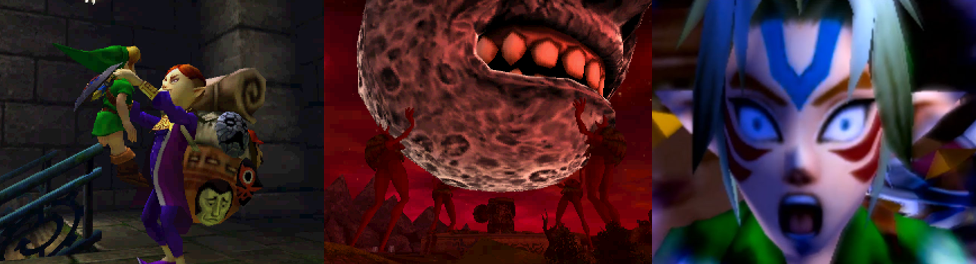
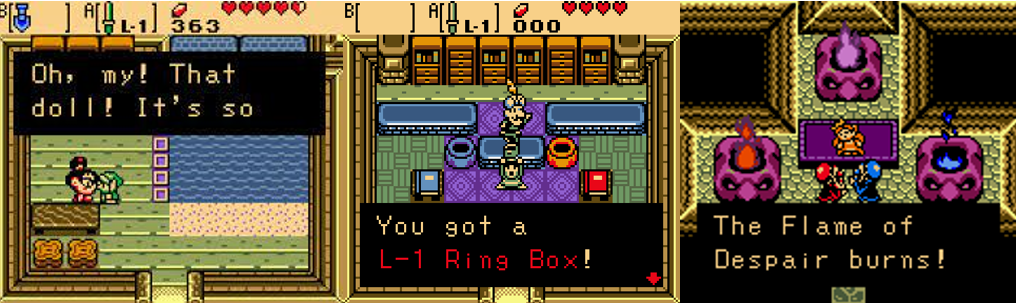
These are areas where Echoes of Wisdom shines best as it mirrors Breath of the Wild and Tears of the Kingdom by offering largely visually uninspiring dungeons. They’re not as confusing or layered as other 2 and 2.5D Zelda dungeons and are surprisingly easy to figure out considering the additional mechanics offering by Tri and the Echoes. It’s not too difficult to work out when you have to latch onto something and move it to higher ground, for example, or hit a faraway switch with something like a Boomerang Boarblin. Suthorn Ruins eases you into things nicely, appearing as an ancient, cave-like temple of cracked walkways and broken paths. Jabul Ruins emphasises swimming, with you avoiding whirlpools and grabbing air bubbles alongside stepping on coloured switches to raise a waterspout in the main chamber. Gerudo Sanctum features a wind gimmick and is structured like a boobytrapped training ground, forcing you to clear away and drain sand to progress, while Eldin Temple is housed within an active volcano. You must ride steam bursts, cross lava, and carefully climb rocky walls to progress. Faron Temple steps up the visuals as it’s housed within the Still World, so it’s got a surreal air to it, dark chambers, and crystals to charge with electrical attacks. Lanayru Temple and the surrounding mountains was probably my favourite area as you must fight against the slippery ice, stave off the frigid cold, and power up machinery to freeze or thaw different rooms. Things go full bonkers when you confront Null, however, as you battle through his insides alongside Link like the Kafai side quest in The Legend of Zelda: Majora’s Mask (Nintendo EAD, 2000) and traverse a fractured, bastardised version of Hyrule to reach the end. The game’s story is primarily told through speech bubbles, though some higher quality cutscenes crop up now and then. Musically, Echoes of Wisdom does well, emphasising more relaxed tunes than usual and peppering remixes of “Zelda’s Lullaby” and the main overture into the mix, though nothing really jumped out at me as very memorable.
Enemies and Bosses:
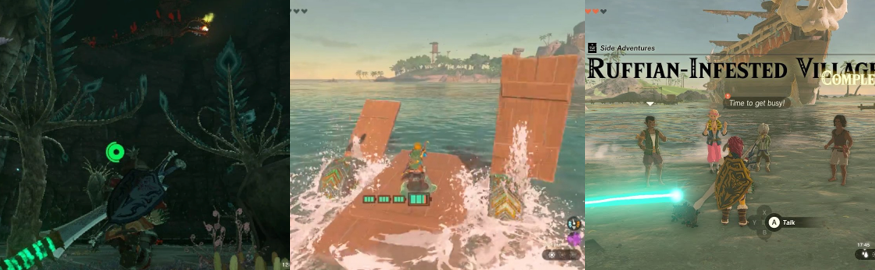
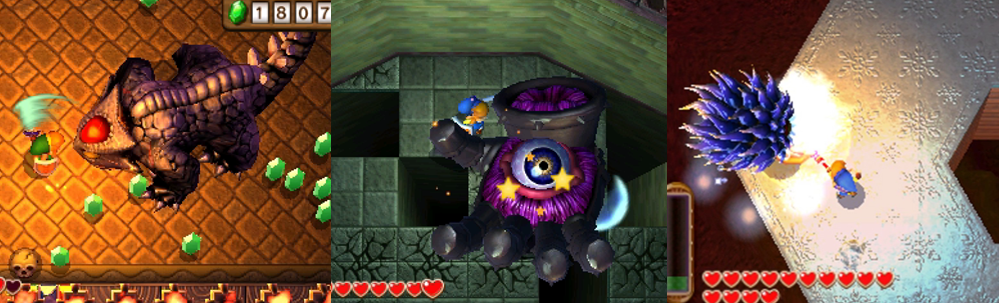
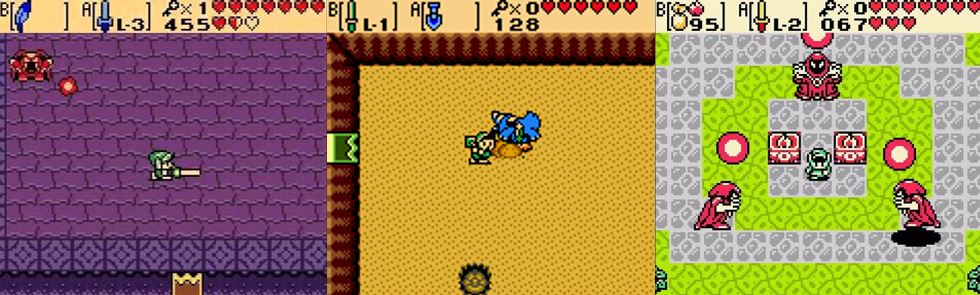
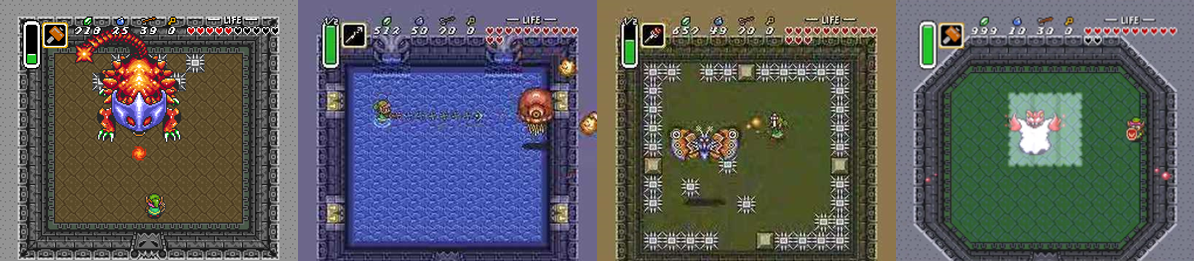
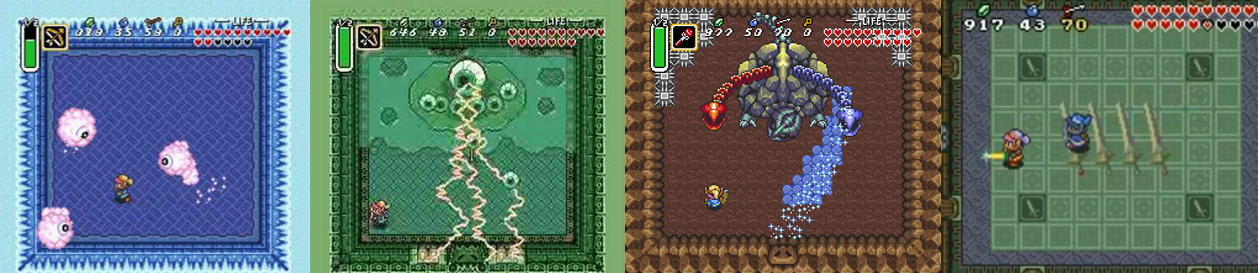
All the usual suspects return in Echoes of Wisdom, with every enemy (save for their rift-spawned shadows) capable of being spawned as Echoes. You’ll be swatting crow-like Guays and bat-like Keese from the air (with these latter also boasting fire, ice, and lightning variants), slaughtering spear- and sword-wielding Moblins (the tougher variants also boasting shields), and struggling to reflect Octorock’s projectiles without a shield. Lizalfos thrust and leap with tridents, Peahats pop from the ground and fly at you with their bladed underbellies, Mini-Moldorms snake around, Torch and Freeze Slugs crawl along leaving damaging trails, and elemental Wizzrobes teleport about small areas firing magical energy waves. Tektites pounce from the water, Beamos fire lasers from their eyes, snake-like Ropes lurk in grass, and you’ll even track down a super-strong Lynel that’s worth adding to your Echo line-up. ReDeads and Gibdos freeze you with a horrifying scream, Poes become intangible and toss flames from their lanterns, Darknuts wield giant axes, and ravenous Chompfin wait in the sea. There are also some new enemies to contend with, like the rain-spawning Drippitune and distracting Ribbitune (though they pose little threat), the Tweelus rock monsters who fly into a rage when attacked, swooping Albatrawl, and armadillo-like Caromadillo who roll into a ball to attack you. Many enemies receive shadowy variants in and around rifts and some (like the Ball-and-Chain Trooper and White Wolfos) act as mini bosses. Other optional mini bosses appear in side quests: the centipede-like Lanmola lurks in the Gerudo Desert, the Barinade-like Bori is fought in the wrecked ship, the red-hot Volcanic Talus is battled in Summit Cave, and the sentient gas ball Smog is encountered in the Eastern Temple. Naturally, these tend to be tougher battles, with Volcanic Talus being a flaming variant on the Seismic Talus boss battle and Bori emitting a powerful electrical field that’s difficult to avoid as you frantically destroy its mini jellyfish.
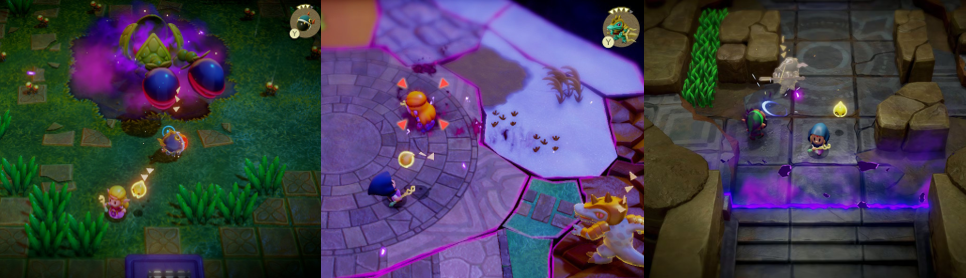
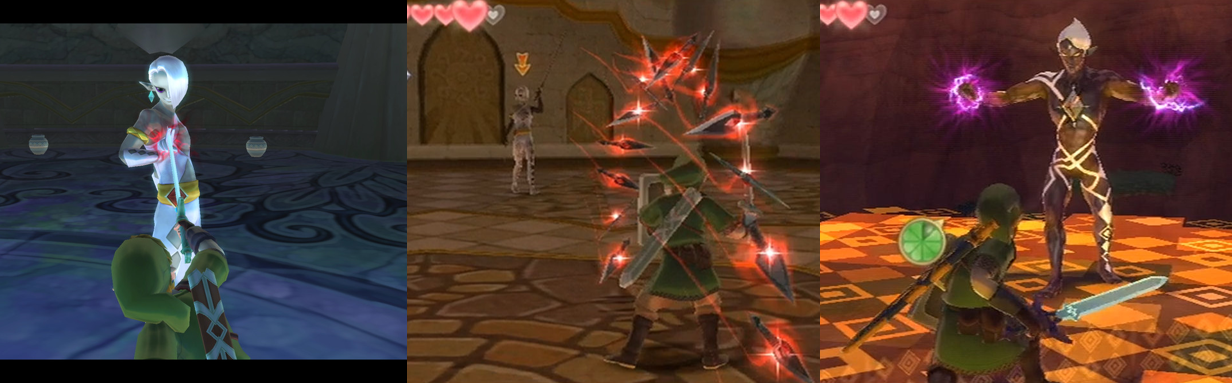
There are six mini bosses to contend with across Echoes of Wisdom, with your first being a battle against Ganon himself! This is essentially a stripped down version of A Link to the Past’s final battle as sees you (as Link) swatting Ganon with your sword as he teleports about, tosses his trident, and lunges from across the screen. You must defeat an Echo of Lord Jabu-Jabu to access the Jabul Ruins, and this fight sees you tossing Bombfish when he breaths in deeply and frantically swimming or hopping to wooden planks as he chomps around in the water. In Faron Temple, you encounter the multi-headed plant monster Manhandla twice, with you again stunning it by tricking it into eating Bombfishes so you can sever each head. In the second fight, it sprouts more heads, with two spitting projectiles. Lanayru Temple’s Slime Eye was a bit of a pain as you must avoid being squashed when it drops from above and spawn ice Echoes to freeze it. Each time you shatter it, it splits into smaller forms, which can quickly clog up the screen and make it difficult to avoid taking damage. When in the Stilled Ancient Ruins, Zelda battles her rift-spawned doppelgänger, who floats about and spawns shadow monsters of her own. You must lock onto her and fire your arrows to knock her down, preferably spawning a Lynel to handle her minions and deal big damage to her as she has a lot of help. Additionally, your most persistent enemy in Echoes of Wisdom is a shadowy double of Link who’s fought three times. Each time, he adds a new weapon to his arsenal which you receive upon victory, meaning you must battle against his sword swings, bomb tosses, and arrows. Link fires up to three arrows, charges a Spin Attack, jumps about, and powers up to be faster or spawn duplicates. Still, it’s generally easy enough to distract him with one Echo and spawn another to hit him from behind even with pits or multiple attacks to worry about.
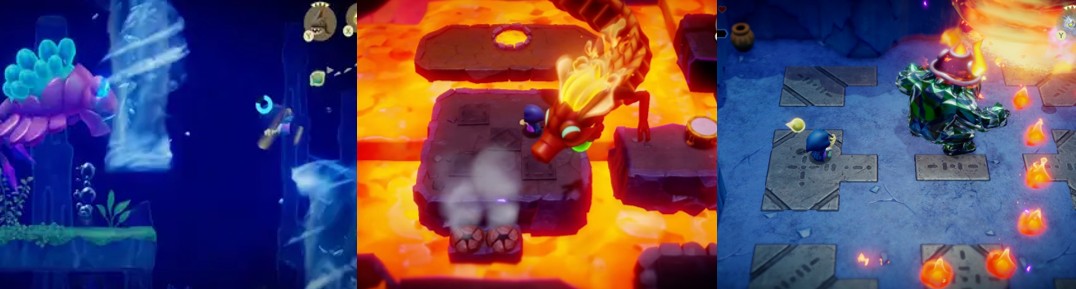
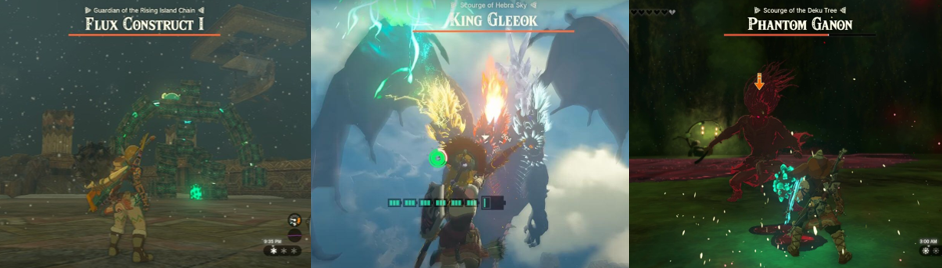
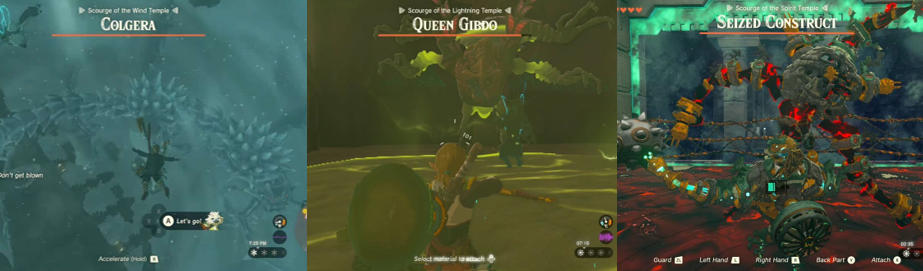
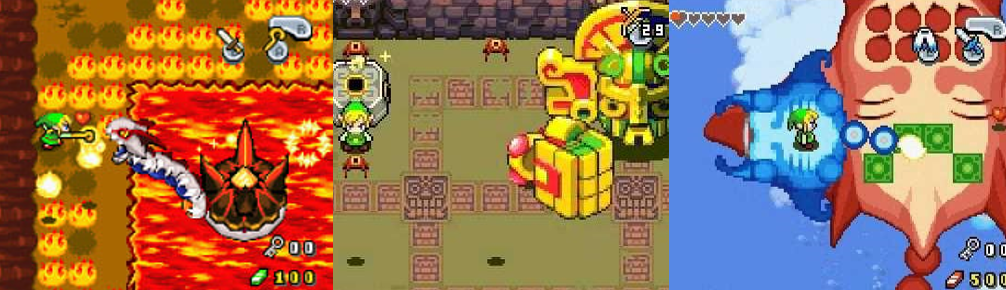
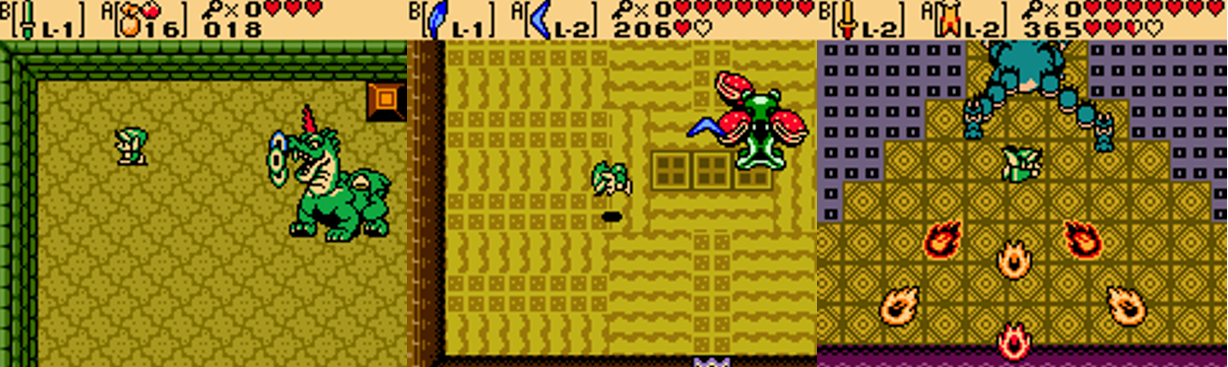
There are also eight regular bosses, with some being returning faces from the franchise. I fought the Seismic Talus first, which circles the arena and rapidly spins its long, rocky arms or slams them to the ground. You must target the exposed core on its back when it’s stunned or distracted, but the weak spot moves as the fight progresses. Next, I battled the fish-like Vocavor underwater in a 2.5D setting. You must grab air bubbles and dodge the whirlpools it spawns and its tail attack, dropping Bombfish to target the growths on its skin and leave it vulnerable for your sword. The giant mole Mogryph burrows under the sand, sending sand plumes at you, and diving across the sand to skewer you. You must trick it into colliding with the statues to stun it, then spawn your own when it takes to the air, watching for quicksand and sand twisters. I was super happy to see Volvagia return in Eldin Temple for a pretty challenging battle. Volvagia’s largely invulnerable when circling and you must avoid falling into the lava or stepping on red-hot tiles. When it pops from a lava pool, fire your arrows or use Tri to tug at its necklace to stun it, but watch for the energy balls and fireballs it spits and its wide-arching head swipe. Another familiar face, Gohma, guards Faron Temple. This time, you must use electrical Echoes to quickly attack the green crystals on her body to stun her, avoiding or burning the webs she spits out and taking out her babies as they appear. As you deal damage, Gohma stomps about and tries to trap you in her pincers and fires a sweeping laser. Skorchill awaits in Lanayru Temple and spins around on the ice, stomping to drop icicles, or switching to its fire helmet to spit fireballs and performing a flaming spin. You must alternate between ice- and fire-based Echoes depending on which helmet Skorchill’s wearing, with it eventually rapidly switching between both forms by the finale.
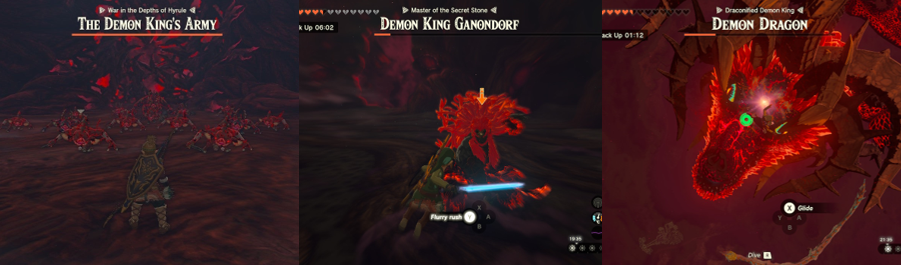
Ganon returns in Hyrule Castle, now noticeably more formidable since Zelda lacks Link’s usual attacks. In addition to his massive trident and teleporting antics, Ganon tosses fireballs and goads you into playing dead man’s volley, so be sure to have your Energy Gauge topped up. This was easily the toughest fight of the early game for me since Ganon is very aggressive. However, Ganon’s not the big bad here. Instead, it’s Null, a shadowy being once imprisoned by the Goddesses that somewhat reminds me of Nightmare from Link’s Awakening. The final battle with Null has three distinct phases, with Link joining you for two of them. In the first, you must latch onto Null’s arms and stretch them out so Link and your (Lynel) Echoes can attack. When it hides in the walls, you must avoid the draining goop it spawns and yank on its arms, again relying on Link and your Echoes since Zelda loses her Swordfighter form in the endgame. In the second phase, Zelda battles alone in Null’s bloodstream, like the Vocavor fight, swimming past giant whirlpools and spawning Chompfins to attack Null’s tentacles. The final phase is basically the same as the first, but much tougher. Null has more hands that are harder to snag (seriously, I kept grabbing Link or my Lynel, which was super frustrating!) and transforms into each of the previous bosses and uses their signature attacks, sometimes becoming multiple at once, or mixing and matching them, meaning you could be faced with as many as four Ganons alongside two flying Mogryphs! This was easily the most troublesome phase as the arena is filled with giant enemies and attacks that are difficult to avoid, so it’s best to sneak in a nap when you can or drink some special smoothies to even the odds. After enough hits, you must snag the “Prime Energy” from its body, rapidly tapping A to dispel the creature and restore the land.
Additional Features:
As in every Legend of Zelda videogame, there are numerous Heart Pieces to be found here. You get full ones for defeating each boss, and another heart for every four pieces you find, with forty of them spread across the map. There are also 150 Might Crystals to find which, when taken to Lueberry, will upgrade your Energy Gauge and Swordfighter form. You only need 125 to upgrade everything but, with all 150, Lueberry builds a machine to fill the Energy Gauge at will (not that you’ll need it by then). There are also sixty-nine (…nice) smoothie recipes to make, with you earning new accessories for crafting set amounts, and twenty-eight accessories to find, buy, or earn. There are eleven outfits to wear, though three are unlocked using Amiibos and one is only awarded after finding all twenty-five stamp locations. Each time you fill a stamp card, the Stamp Guy gives you a reward, such as a bottle or golden egg, and finding all twenty-five lets you dress as him. After finishing the game, you get a stamp on your save file and are free to finish up any side quests or tasks, with the map expanded to show any Echoes or collectibles you’ve missed. There are fifty-one side quests, from showing monsters to NPCs, finding a stray horse, talking to local cats while wearing cat clothes, tackling options side dungeons and mini bosses, ferrying items back and forth, locating a possible spy in the Hyrule guard’s ranks, and playing hide and seek. You can also collect acorns for rewards, play the game in the more challenging “Hero” mode, or head to the Slumber Dojo to tackle timed challenges. These see you battling enemies with various restrictions (such as having no Echoes or items at the start, playing in darkness or against elemental forces, or having healing drinks banned) and endure boss rushes, with various awards gifted depending on how fast you complete each challenge (with the final reward being Link’s iconic green tunic).
Final Thoughts:
I was super excited for The Legend of Zelda: Echoes of Wisdom because I was such a fan of the Link’s Awakening remake and this visual style for the franchise. This is the Zelda I enjoy: colourful, oddball, top-down adventuring with a clear progression system, a bunch of collectibles, and fun enemies and bosses to face. In that regard, Echoes of Wisdom more than delivers with its clear allusions to A Link to the Past, incorporating the side quest tracking and certain mechanics from Breath of the Wild and Tears of the Kingdom, and giving long-time fans something new to experience through Zelda. While the dungeons were somewhat basic, I really enjoyed all the mini bosses peppered throughout the game, especially the fights against Dark Link, and the bosses were surprisingly challenging. Ganon and newcomer Null were especially taxing at times, though I suspect players who take advantage of the smoothie, accessory, and Echo system may fare better. Unfortunately, as fun as the Echo system can be, I wasn’t a fan of how it replaced real-time combat with almost a real-time strategy flavour. Zelda cannot attack unless she transforms into what’s basically Link, robbing her of a lot of agency (especially as she’s known to be a keen archer) and making battles needlessly tedious. The Echoes were good for puzzle solving but even this aspect was downplayed, with many of the puzzles being far too familiar and not as innovative as the system promises. It’s a shame as there’s a lot to like here but it mostly felt like I was playing with a janky debug mode, spawning random crap into each area to see what would happen, which wasn’t that fun as many Echoes are pretty useless. I wonder if a back-and-forth system might’ve been better, where players control Link and Zelda, switching between them depending on the situation. Echoes of Wisdom is still a gorgeous and enjoyable title, however, and well worth your time, I just think it fails to live up to its full potential at times.
My Rating:
Pretty Good
What did you think to The Legend of Zelda: Echoes of Wisdom? Were you happy to see Zelda take the spotlight for a change? What did you think to the Echo system and how it took control away from the player? Did you enjoy the surreal appearance of the Still World? What did you think to Null and did you also struggle against his final form? Did you ever complete all the side quests and conquer the Slumber Dojo? Which Zelda game is your favourite and how did you celebrate the franchise today? Whatever your thoughts on Echoes of Wisdom, drop a comment down below, go check out my other Zelda reviews, and donate to my Ko-Fi to see more Zelda content.


You must be logged in to post a comment.